Prototyping and testing for the IoT : methodologies and tools
The prototyping and testing phase for the IoT (Internet of Things) is crucial to any project. These stages enable concepts to be validated, problems to be detected before they go into production and devices to be guaranteed to work properly in real-life conditions. In this article, we explore the essential methods and tools for successfully completing these key stages.
Why are IoT prototyping and testing essential?
The IoT prototyping and testing phase is an iterative stage where initial ideas take concrete form. It allows us to test technical feasibility, identify needs for improvement and gather feedback before moving on to production.
- Risk reduction: detect problems early in the process.
- Time and cost savings: correcting errors on a prototype is less costly than on a final product.
- Functional validation: ensuring that hardware and software components communicate effectively.
Prototyping methods for the IoT
- Rapid prototyping:
Rapid prototyping is a method of rapidly creating working versions of an IoT product. It involves using hardware development kits and software development platforms to iteratively test concepts.- Arduino: a flexible platform, ideal for simple hardware prototypes.
- Raspberry Pi: suitable for projects requiring greater computing capacity.
- Simulation and emulation
Simulation and emulation tools enable the project to be tested without the need for physical hardware, which speeds up the development process. IoT emulators, in particular, mimic the behaviour of sensors to test connectivity, communication and performance.
Before building a physical prototype, IoT systems can be tested virtually using platforms such as :- IoTIFY: a simulator that recreates the behaviour of connected devices and IoT networks.
- Integrated emulators: for testing the communication between sensors and the software platform.
Next step: IoT testing under real conditions
The IoT prototyping and testing phase is divided into several stages. Once the prototype has been established, rigorous testing is required to guarantee its reliability and performance.
- Hardware tests:
- Checking sensor performance (accuracy, latency, etc.).
- Compatibility tests to ensure that components interact without conflict.
- Network tests:
- Assess the stability of wireless connections (Wi-Fi, Bluetooth, LoRa, etc.).
- Simulate difficult conditions (poor network coverage, interference).
- Real-life testing:
Test IoT devices under expected conditions (domestic, industrial, outdoor) to ensure their effectiveness in real-life scenarios.
Development of user interfaces
The IoT prototyping and testing phase is followed by the development of the user interface. The user interface (UI) plays an essential role in making the IoT product intuitive and functional. Good UI prototyping is just as crucial as the hardware.
- Recommended technologies :
- Flutter: powerful cross-platform framework for rapidly developing mobile applications to control IoT devices.
- Flutter_reactive_ble: library adapted to manage Bluetooth Low Energy communication.
- Advantages of Flutter for IoT projects :
- A single code for Android, iOS and the web.
- Responsive and aesthetic interfaces thanks to a widget-based architecture.
The use of Flutter in an IoT project is facilitated by libraries. For example, if you want to use BLE (Bluetooth Low Energy), the flutter_reactive_ble package, developed by Philips, is essential.
Tools for successful prototyping
- Hardware platforms:
Arduino, Raspberry Pi, ESP32 (for projects requiring Wi-Fi and Bluetooth). - Development software:
- PlatformIO: integrated development environment for working on different microcontrollers.
- Fritzing: circuit design software, useful for planning electronic prototyping.
- Test tools:
- Multimeter: to check electrical connections.
- Network analysis software: Wireshark to monitor communication between devices.
Case studies: prototyping in action
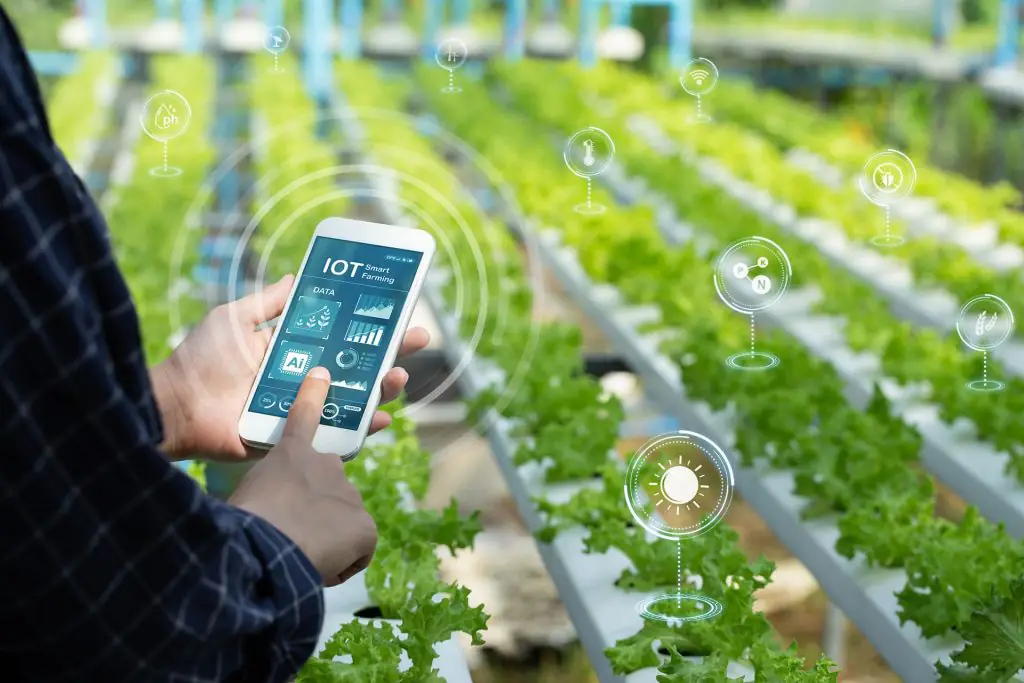
Let’s take the example of an IoT project for an intelligent greenhouse:

1. Rapid IoT prototyping and testing
To develop an intelligent greenhouse, rapid prototyping starts with the use of key sensors:
- Temperature and humidity sensors: These measure the environmental conditions in the greenhouse.
- Arduino board: This is used as a development platform to connect the sensors and process the data.
- IoT connectivity: A Wi-Fi or Bluetooth module is built into the board to transmit data to a cloud or management application.
This minimum package will enable us to lay the foundations for a functional prototype at low cost and with rapid implementation.
2. Simulation: Testing before real integration
Before testing in real conditions, a simulation is carried out to check that the system is working properly:
- Software such as IoTIFY or Blynk: These platforms simulate the connectivity between sensors and a cloud environment. They can be used to:
- Test data transmission.
- View the information collected (e.g. real-time graphs).
- Configure alerts or automated actions, such as watering triggered at a defined humidity threshold.
This step enables technical problems to be identified and corrected without affecting the greenhouse.
3. Testing under real conditions: Validation in the greenhouse
Once the prototype has been validated in simulation, it is installed in a greenhouse for practical testing:
- Checking the accuracy of the measurements: The sensor data is compared with standard measuring instruments to ensure its reliability.
- Watering automation: An automatic watering system, based on defined humidity thresholds, is activated. Adjustments are monitored in real time to measure the impact on plant growth.
- Data collection for long-term analysis: Information is stored in a cloud, enabling performance to be analysed over an extended period (e.g. energy efficiency, reduction in water wastage).
Results and benefits
This structured prototyping process makes it possible to :
- Reduce costs and lead times by rapidly iterating on the design.
- Guarantee a smooth transition between the design phase and production.
- Obtain data that can be used to improve the system (e.g. adjust thresholds or improve sensors).
The IoT prototyping and testing phase is an essential step in transforming an idea into a functional product. Combined with rigorous testing, it guarantees the technical viability and reliability of IoT projects. By using the right tools and methods, companies can not only reduce costs, but also speed up development and improve the quality of their products.
Planning an IoT project? Set up a solid IoT prototyping and testing phase and test each component to ensure the success of your initiative!


